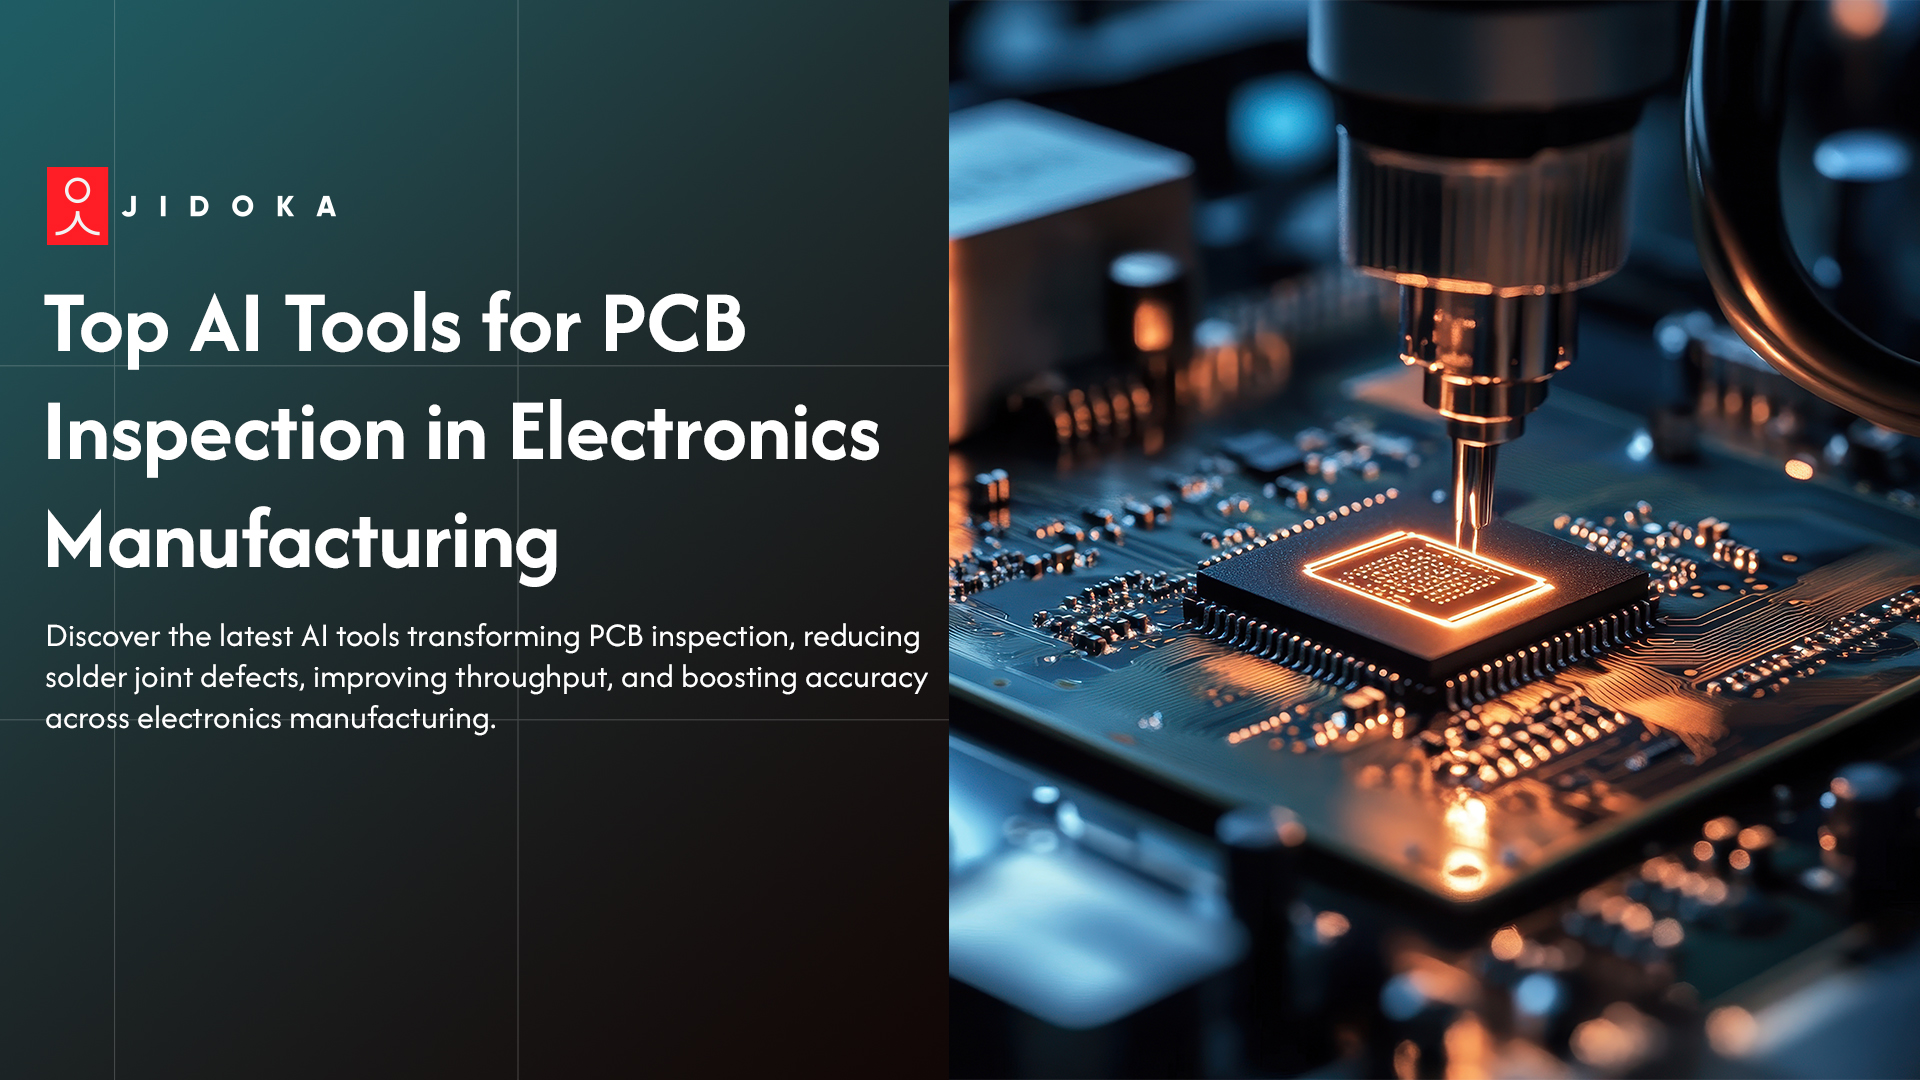
Traditional AOI struggles with dense boards, tiny packages, and fast SMT lines. False call rates often sit above 8–10%, and some plants still miss 2–5% of real defects even with inspection in place. That’s a lot of scrap and rework for every thousand boards you ship.
An AOI inspection machine with AI-based AOI inspection changes those numbers. Many modern lines report up to 30–40% fewer false calls, 50–70% faster program setup, and 98–99% detection on critical solder joints once AI models mature in production.
In this guide, you will see how to pick an AOI inspection machine, plug in AI the right way, and use automated defect analysis to cut escapes and false calls. By the end, you will know what to buy, how to roll it out on your line, and how to prove the ROI.
Why Traditional AOI Inspection Machine Systems Fail
Traditional AOI inspection machine technology creates more problems than it solves. Manufacturers face three major issues that destroy productivity and drain budgets.
The False Positive Crisis in PCB Inspection
Your operators waste hours verifying alerts that shouldn't exist. Traditional systems flag acceptable variations as defects.
One medical equipment manufacturer dealt with 12,000 false rejections every week. That stopped after they switched to AI-based AOI inspection.
The problem? Rule-based algorithms can't tell the difference between process variations and actual defects.
Here's what false calls cost you:
- $7,000 per panel annually for each PCB manufacturer
- 10-30% false positive rates from optical interference
- 15-20% production slowdown from manual verification
- $2 million loss from unplanned downtime (average two outages)
Limited camera resolution makes it worse. Outdated algorithms fail at distinguishing real defects from acceptable variations. Your production line stops. Your team manually checks every flagged board.
Real defects slip through because operators become careless after reviewing hundreds of false alarms.
Programming Complexity Drains Resources
Creating inspection programs takes 10x longer than AI-assisted methods. Every PCB design change needs reprogramming. You need specialists who understand lights, algorithms, and camera views.
Many manufacturers leave machines sitting unused. Why? Maintaining programs costs more than the inspection value they provide.
The financial impact:
- Systems integrators charge $20,000-$150,000 for implementation
- Full-time programmers needed for each product variation
- Programs working today fail tomorrow when conditions change
- Weeks spent tweaking parameters to keep false failures low
Traditional AOI inspection machine setups demand constant attention or they break down completely.
Hidden Defects Escape Detection
2D optical systems miss what matters:
- Solder voids hide from view
- Lifted leads escape detection
- Coplanarity issues go unnoticed
Component miniaturization pushed traditional inspection past its breaking point. 01005 packages and high-density assemblies require precision these systems can't deliver.
Traditional machine vision defect detection only catches what it's programmed to find. Unanticipated issues pass through unchecked.
Human inspectors capture 80% of defects at best. Performance drops when they're tired or still learning. Submicron defects at modern semiconductor nodes? Impossible. These flaws exist smaller than the wavelength of visible light.
Your quality suffers and customers receive defective products.
See how Jidoka Tech’s AI vision catches hidden defects your current inspection misses. Book a quick demo of your line today.
How AI Transforms AOI Inspection Machine Performance
Automated defect analysis using AI eliminates the problems that plague traditional systems. You get faster programming, fewer false calls, and detection accuracy that actually works.
Machine Learning Eliminates False Calls
AI-powered systems learn the difference between real defects and acceptable variations. Deep learning models train on thousands of production samples. They understand what's normal and what's not.
You see results immediately:
- 20-30% reduction in false positives after deployment
- 5% to 0.4% false calls in three months (automotive electronics)
- 99% accuracy for polarity checks (PCB manufacturers)
- 97% accuracy jump from 63% baseline (semiconductor facilities)
The system keeps learning. Operator feedback refines detection parameters automatically. No manual reprogramming needed.
One manufacturer using the MiTAC MZ1 Edge AI system dropped false alarms to just 5% while maintaining 99% accuracy. Your production line moves faster. Operators focus on real issues instead of verifying hundreds of false alerts.
Automated Programming Cuts Setup Time by 70%
AI recommends optimal AOI inspection conditions without human input. Upload your CAD files and Gerber data. The system generates inspection programs automatically.
Koh Young's KAP technology proves this works:
- No golden boards needed
- No complex library setup required
- AI creates working programs when first PCB enters machine
Programming time drops from days to hours. Manufacturers report 10x less effort creating and debugging programs. Some saved more than one full-time employee on programming and operation costs.
Engineers handle higher-value work instead of tweaking parameters for weeks on end.
Adaptive Learning Handles Process Variations
Traditional systems break when conditions change:
- Lighting shifts
- Component suppliers modify parts
- Assembly processes evolve
- Your inspection fails
AI-based AOI inspection adapts automatically. The system maintains accuracy despite environmental variations. It spots pattern deviations that signal upstream equipment problems. You fix issues before defects multiply.
No-code interfaces make this simple. Active learning suggests images for human review. The system creates continuous improvement loops without programming expertise.
Variations in lighting or product positioning don't impact performance anymore.
3D Measurement Capabilities Catch Complex Defects
AI-enhanced 3D AOI inspection solutions measure what 2D systems miss. Height, volume, and coplanarity get measured with metrology-level precision.
You catch problems early:
- Insufficient solder paste below 50 micrometers
- Lifted leads
- Skewed placements
Manufacturers combining pre-reflow and post-reflow inspection cut rework costs by 40%. True 3D measurement technology minimizes false calls. You get accurate height, volume, and coplanarity data.
Manual inspection needs to drop. Decision-making becomes data-driven and consistent.
See how Jidoka Tech’s 3D AOI and AI vision stack can cut your rework costs by up to 40%. Schedule a Kompass™ trial run on your critical line.
AOI Inspection Machine AI Implementation: Technical Requirements
You don't need to replace your entire inspection system. Most AI-based AOI inspection software works with existing hardware. Here's what you actually need.
Hardware Prerequisites for AI Integration
Your current AOI inspection machine probably meets the minimum requirements. Check these specifications first.
Edge computing processors handle everything locally. You eliminate cloud latency. Systems maintain 30 FPS for object detection while cutting power consumption by 92%.
Your AI software works with equipment from:
- Keyence
- Cognex
- Koh Young
- Other major manufacturers
Hardware-agnostic solutions mean you keep existing investments.
Data Requirements and Training Models
AI models need proper training data. You can't skip this step.
Start with your top 5 defect types. Gather comprehensive examples. The active learning system suggests images for human review. This creates continuous improvement loops automatically.
Leading AI platforms utilize transfer learning from pre-trained computer vision models. You fine-tune them on your facility-specific datasets.
Optimization techniques:
- Quantization and pruning reduce model size by 20x
- Minimal accuracy loss
- Deploy using TensorFlow Lite, TVM, or MLIR compilers
Your system processes inspection data during idle time. Off-hours work for updating models and learning new defect characteristics. Production never stops.
Let Jidoka Tech’s experts map your top 5 defect types and set up a data plan that reaches 97%+ accuracy fast. Request a Kompass™ training workshop for your line.
Step-by-Step Implementation Process for PCB Inspection
Follow this proven process to deploy AI-based AOI inspection successfully. Each phase builds on the previous one. Skip steps and you'll face problems later.
Phase 1 - Baseline Assessment (Weeks 1-2)
Document your current performance before changing anything. You need these numbers to prove ROI later.
Run parallel testing:
- Put AI system alongside existing PCB inspection
- Test 100 production boards minimum
- Compare detection rates, false calls, cycle times
Traditional systems typically hit 70% detection accuracy before AI deployment. This data proves ROI and identifies integration challenges early.
Phase 2 - System Integration (Weeks 3-4)
Install AI software and connect it to your existing cameras. Configure lighting conditions optimized for machine vision defect detection.
Integration Checklist:
- Upload CAD files, BOMs, design specifications
- Run training cycles with known-good boards
- Include boards with intentional defects for validation
- Set defect thresholds based on IPC-A-610 standards
- Choose Class 1, 2, or 3 depending on application
- Integrate with MES for automated data flow
Deploy AI inference engines on edge computing platforms. Configure multi-phase lighting and programmable digital fringe projections. This enhances defect detection across varying board complexities.
Phase 3 - Calibration and Validation (Weeks 5-6)
Fine-tune detection parameters using actual production data. Test positioning accuracy. Your AOI inspection machine should detect reference points within ±5 micrometers.
Validate against boards with known defects:
- Solder voids
- Insufficient paste
- Component rotation errors
- Polarity mistakes
Adjust sensitivity to balance detection rates with false call minimization. Schedule operator training on result interpretation and system feedback.
Verify IPC-A-610 compliance across all three acceptability levels. Ensure coating thickness measurements maintain ±5 micrometer accuracy for conformal coating inspection applications.
Phase 4 - Production Deployment (Week 7+)
Start with one high-volume product line. Don't try to convert everything at once.
Monitor these daily:
- Detection rates by defect type
- False call percentages
- AI classification accuracy
- Operator feedback quality
Review flagged defects with quality teams to verify AI classification accuracy. Update models weekly based on operator corrections.
Many factories separate offline learning from online inference. They conduct AI machine learning on cloud or dedicated servers. Trained models deploy to edge devices for real-time inline optical inspection for PCBs.
Expand to additional product lines after achieving stable performance. Full ROI typically arrives within 6-12 months.
Your implementation roadmap is set. Now let's break down the actual costs and returns.
Cost Analysis and ROI for Automated Defect Analysis
Understanding the true cost and return helps you make smart decisions. AI-powered AOI inspection systems usually sit between $50,000 to $200,000 depending on resolution, speed, and options you need.
A typical AOI inspection machine AI implementation looks like this:
- AI-powered system: $50,000 to $200,000
- Installation and integration: $5,000 to $15,000
- Annual maintenance: $5,000 to $15,000
- Software-only solutions: $20,000 to $40,000 on existing hardware
Now the upside. Removing two manual inspectors can save about $100,000 per year. Lower false positives can add roughly $25,000, and fewer escapes can protect another $50,000 in scrap and warranty costs. That is around $175,000 in yearly savings on a $100,000 project, or roughly 75 percent ROI in year one.
Across automated PCB inspection and SMT PCB inspection systems, similar projects report double digit yield gains and fast payback when automated defect analysis runs at scale.
IPC Standards Compliance for AOI Systems
An AI-based AOI inspection system only works long term if it follows IPC rules. IPC-A-610 sets what your AOI inspection machine should pass or fail during PCB inspection.
- Class 1 accepts minor cosmetic issues.
- Class 2 tightens fillet quality and barrel fill.
- Class 3 rejects a board for a single major defect.
Common Implementation Mistakes and Solutions
Even with the right hardware and budget, manufacturers make avoidable mistakes. These three errors cause most AI-based AOI inspection deployments to fail.
Insufficient Training Data
Deploying AI with under 500 images per defect type guarantees poor accuracy. You can't shortcut this requirement.
Solution:
- Start with your top 5 defect types your aoi inspection machine must catch
- Gather comprehensive examples for each one from real PCB inspection runs
- Use data augmentation to grow the set and stress-test machine vision defect detection
- Apply transfer learning from pre-trained models to speed up AI-based AOI inspection
Plan for 500–1,000 labeled images per defect type initially. Your aoi inspection machine can reach 97%+ accuracy after about 10,000 inspection cycles, while automated defect analysis and automated PCB defect detection keep improving from new production data and synthetic samples.
Ignoring Environmental Factors
Temperature fluctuations destroy inspection accuracy. Vibration throws off measurements. Inconsistent lighting creates false readings. Traditional systems fail when brightness changes or noise levels increase.
Solution:
- Implement environmental controls in inspection area
- Use stable conveyor systems with vibration-dampening mounts
- Deploy adaptive AI that compensates for lighting variations
- Maintain temperature range of 0-40°C
- Install adjustable LED lighting with programmable intensity
AI-based AOI inspection maintains high accuracy despite environmental variations. The system adapts automatically.
Setting Unrealistic Thresholds
Overly strict tolerances create false positive nightmares. Your production line stops constantly. Operators waste time verifying acceptable variations.
Solution:
- Reference IPC standards for your product class
- Start with conservative thresholds
- Tighten based on actual defect data after 1,000+ boards
- Class 2 allows ±0.5mm placement variation
- Class 3 requires strictest standards
- Class 1 permits minor imperfections
Balance detection sensitivity carefully. Achieve 95%+ accuracy before scaling to full production. Your machine vision defect detection needs this baseline validation. Test with known defective boards first.
Conclusion
Implementing AI in your aoi inspection machine delivers results you can measure. Plants see 98%+ detection accuracy, 70% faster programming, and 20–30% fewer false positives within the first year. That performance turns PCB inspection into a predictable process instead of a daily fire drill.
Success depends on good data, stable conditions, and phased rollout. Use automated defect analysis to track yield, escapes, and rework cost week by week. Then scale from one line to the next.
As boards get denser, an aoi inspection machine with AI stops being a nice upgrade and becomes standard factory practice. Start small, prove value, repeat.
Ready to cut escapes and rework with real AI-driven inspection? Connect with the Jidoka Tech team to review your line data and map a practical improvement plan.
Frequently Asked Questions
What accuracy rates can I expect from AI-powered AOI inspection machines?
AI-powered aoi inspection machine setups reach about 98–99% defect detection accuracy and under 1% false positives once trained, especially when you refine models with operator feedback and real images for stronger electronics manufacturing quality control.
Can AI software work with my existing AOI inspection machine hardware?
Yes. Many AI platforms plug into existing hardware if cameras provide enough resolution, lighting stays stable, and edge processors run real-time automated defect analysis without cloud delays.
How long does AOI inspection machine programming take with AI?
With AI, programming an aoi inspection machine often drops from days to hours. CAD and Gerber imports auto-build recipes, and small design changes need quick tweaks instead of full reprogramming.
What’s the typical ROI timeline for AI-based PCB inspection systems?
Most plants see payback on AI-based PCB inspection within 6–12 months through lower labor, scrap, and warranty costs. High-volume lines with heavy rework often recover their investment surprisingly fast.
Does AI-based AOI inspection require specialized programming expertise?
No. Operators handle setup and reviews while the platform manages models. You load CAD, choose IPC class, review flagged images, and the system improves automated defect analysis without coding skills.
How does pre-reflow AI inspection differ from post-reflow AOI systems?
Pre-reflow AI-based AOI inspection catches missing or misplaced parts before soldering. Post-reflow focuses on solder joints and overall surface mount technology inspection, so both stages together improve first-pass yield and cut rework.
%20AOI%20Inspection%20Machine%20%26%20AI_%20How%20to%20Implement%20it%20Correctly.jpg)


