









FOREIGN MATERIAL & INCLUSION DETECTION

Foreign Object Detection AI for What Shouldn't Be on Your Product

KOMPASS AI brings foreign object detection to exposed product surfaces and features visible through suitable transparent materials. Check unwanted particles, residue and inclusions against your quality criteria, then flag affected units before assembly, sealing or packing makes the area harder to inspect.

Discuss Your Contamination Inspection

Trusted by manufacturers to improve quality on the line

THE PROBLEM

A Small Particle Can Become Harder to Find at the Next Operation

Foreign object detection is most useful when the unwanted material is still visible. A fragment on an exposed part may be easy to isolate now, then become hidden inside an assembly or package a few seconds later.

The Particle Blends Into the Product

A pale fragment on a pale surface, or a dark speck inside a textured area, may show little contrast. Glare and shadows make that judgement harder.

A Normal Feature Looks Like Contamination

Printed marks, mould texture and expected colour variation can resemble unwanted material. A sensitive check can create a stream of false alarms unless those normal features are represented.

The Record Cannot Explain the Reject

A reject count shows that units were removed. An image shows what was visible, where it appeared and whether the same pattern is recurring on later parts.
The Solution

Put the Visual Check Where the Risk Is Exposed

Our AI Product Inspection system, KOMPASS™, checks captured images for unwanted visible material and agreed inclusion defects. Modular vision hardware provides the views and lighting needed for the product, while the trained model separates suspect features from acceptable appearance.

Find Unwanted Material Against a Changing Background

  • Assess the visibility of the target particle on the actual material and finish
  • Train with representative contamination examples and acceptable product variation
  • Define separate categories for particles, residue and other agreed visual defects
  • Check accessible surfaces before the next operation conceals them
Visible features
Assessed on your product
Defined defect classes
A clearer reason for rejection
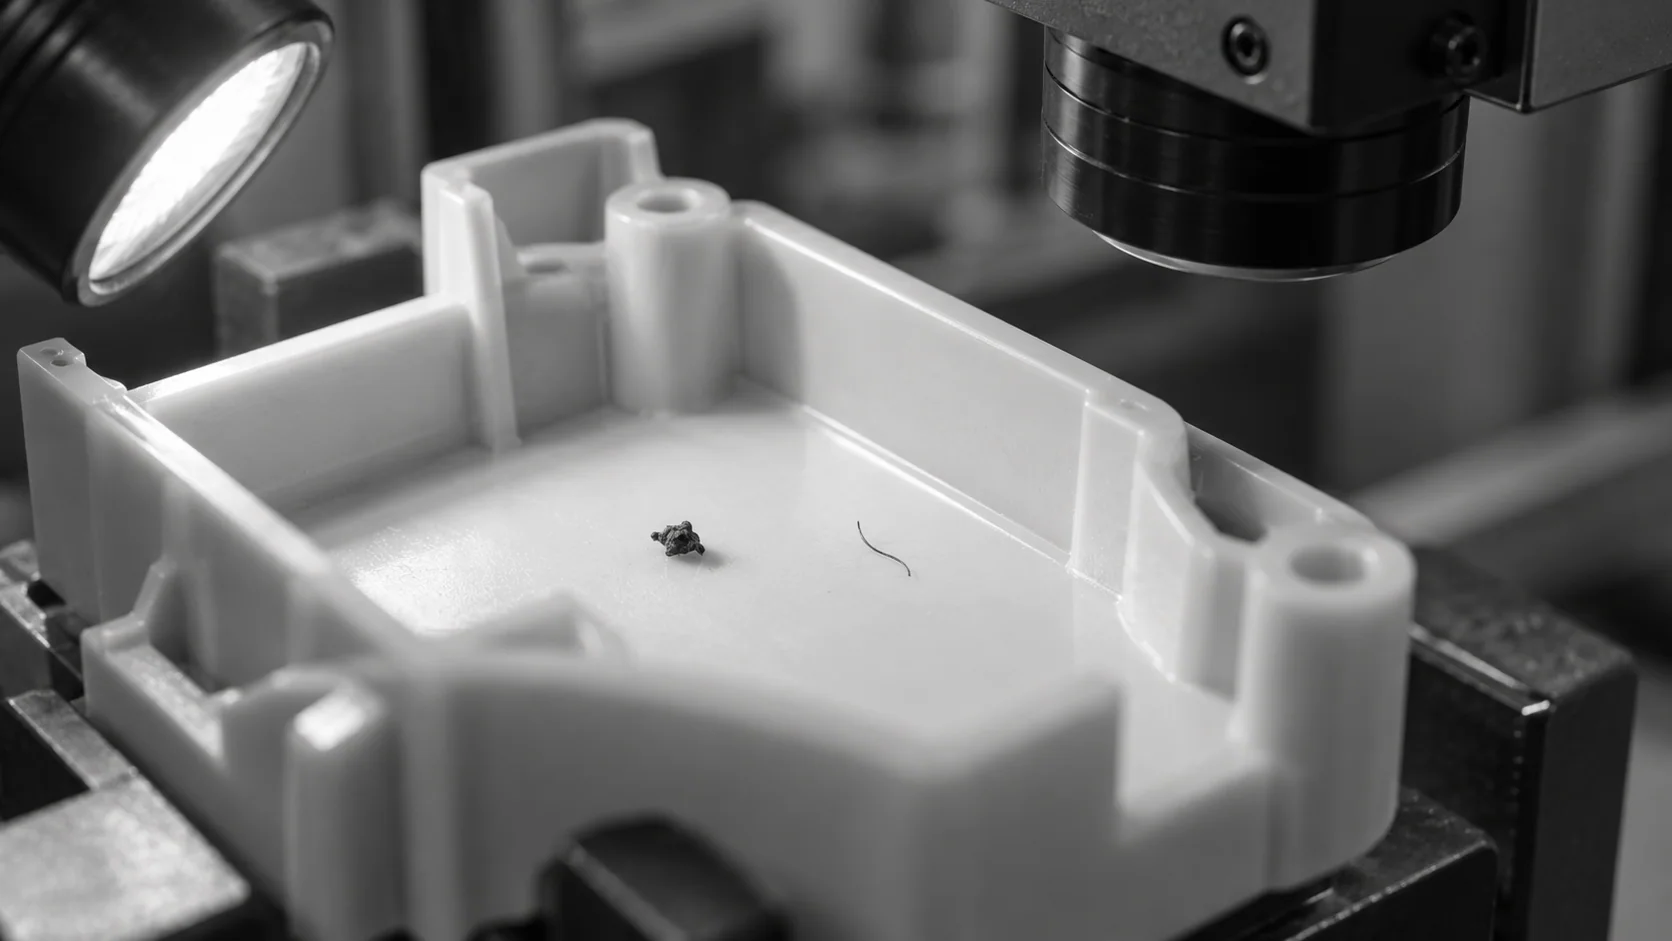
Conceptual illustration of a loose speck and fibre on an exposed plastic-housing surface.
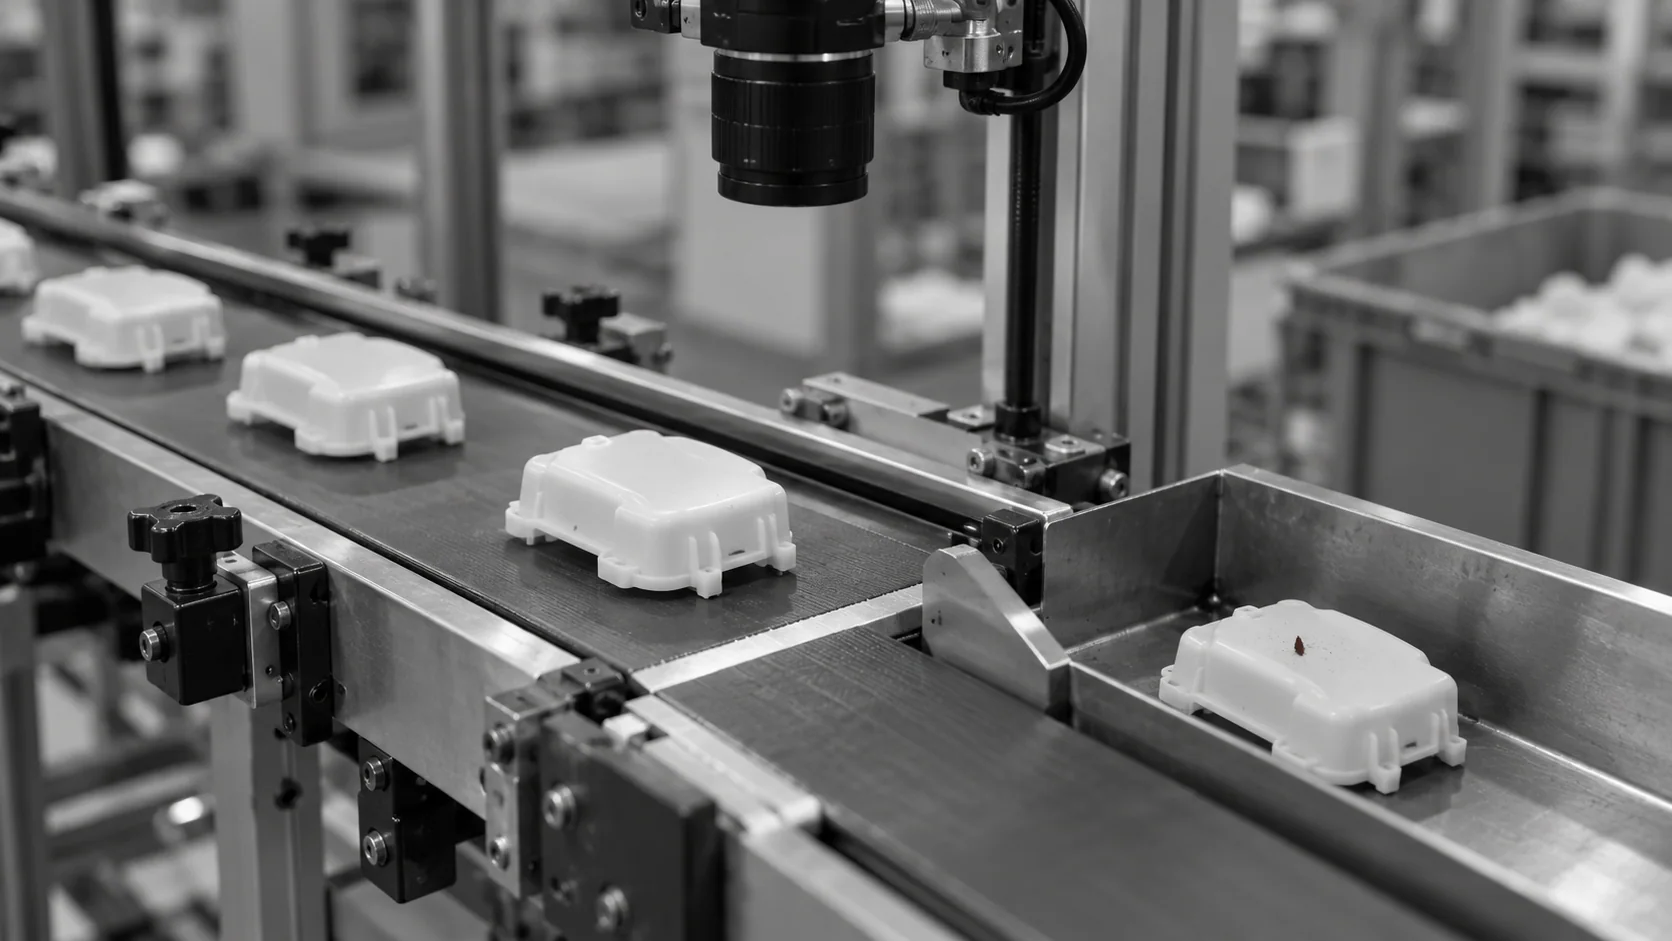
Conceptual illustration of plastic housings beside a camera checkpoint and a side collection lane.

Turn a Suspect Image Into a Controlled Response

  • Synchronise the image with the unit moving through the inspection point
  • Connect the result to the configured reject, hold or review response
  • Retain defect images to support investigation of repeated findings
  • Validate detection and false rejects before enabling automatic separation
At the inspection point
A response while the unit is accessible
Defect images
Evidence for investigation
HOW IT WORKS

Inspect the Visible Area Before It Is Covered

The inspection starts with a usable view of the target material. Define the visible defect, the acceptance rule and the response while the unit can still be isolated.

Highlight #1

Expose the Area That Needs Checking

Choose the checkpoint before the relevant surface is covered. Position the camera and lighting to make the target material visible against the product, including difficult low-contrast examples.

Highlight #2

Distinguish the Suspect Feature

Train with actual contamination examples and normal product features. The model checks the visible area against the agreed defect categories and acceptance rules.

Highlight #3

Act While the Unit Can Be Isolated

Pass the result to the configured rejection or review response. Keep the defect image so quality teams can investigate repeat findings and compare them with earlier inspected units.

Connect With Us

Show us the unwanted material you need to find and the product it appears on. We will assess the viewing conditions and the right checkpoint for inspection.

Get In Touch

Make the Visible Finding Actionable

All camera-based methods need a usable view. The inspection design determines what is exposed, and the decision method determines how acceptable variation is handled.

Inspection need
Manual inspection
Traditional machine vision
KOMPASS AI
Low-contrast material
Depends on visibility, attention and inspection time
Contrast and colour tools work well in controlled applications
Imaging and trained examples are assessed against the target defect
Normal markings and texture
Inspectors interpret the difference
Rules distinguish features with predictable appearance
Learns acceptable variation alongside the defect examples
Containment and evidence
Operator isolates the unit and records the finding
Can trigger rejection and save images
Connects visual classification, line response and defect evidence
First-Time-Right
Depends on the check happening before concealment
Supports a defined visible inspection point
Helps contain visible contamination before further processing
CUSTOMER SUCCESS

Shriji Added AI Inspection to Its Bottle-Cap Line

Shriji's published application identifies contamination, sealing damage and surface irregularities among its inspection challenges. Jidoka deployed KOMPASS on the wad assembly line to classify defects and connect the result to automated rejection and quality reporting.

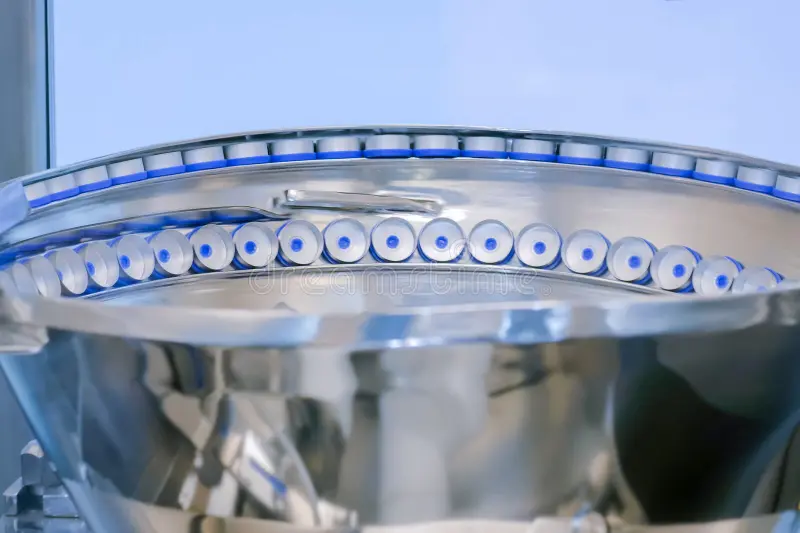
Official Jidoka case-study cover for Shriji pharmaceutical bottle-cap inspection
Shriji Added AI Inspection to Its Bottle-Cap Line
Pharmaceuticals

These results cover the bottle-cap inspection application as a whole. They do not establish a detection rate for every contaminant or material.

  • More than 10 defect types reported in the application
  • 10% reported reduction in recurring defect occurrences

Frequently Asked Questions

What can camera-based foreign object detection find?

Foreign material detection depends on whether the unwanted feature can be distinguished in the captured image. Particles, fragments, fibres or residue may be suitable targets when the product, background and lighting provide enough visible information. Foreign particle detection should be tested using the actual material, its likely positions and the smallest rejectable examples. Define the inspection around those conditions. A material name alone cannot establish whether the system will see it reliably on your product.

Can it find inclusions inside a part?

Inclusion detection is possible only where the chosen imaging method exposes the feature. A particle visible through clear material presents a different task from one buried inside an opaque component. Surface inclusion detection can assess a visible mark, but cannot establish the full extent or composition of material hidden below it. Share cross-sections, reference findings or other available evidence during feasibility work so the team can identify which requirements need an additional inspection method.

Will it replace our metal detector or X-ray system?

No. Foreign material inspection should match each risk to a method capable of detecting it. Cameras assess appearance within the available view. Other technologies can address particular conductive materials, density differences or concealed features under suitable conditions. Visual contamination detection can add a useful checkpoint where unwanted material is exposed, but its contribution needs validation alongside the rest of your inspection process. Keep the acceptance criteria and response for each method clearly defined.

How do you avoid rejecting normal marks as contamination?

Train with representative good parts as well as real reject examples. Include printing, mould texture, normal colour variation and the changing appearance of the surface under production conditions. Black spot detection, for example, needs a definition of which dark features are unacceptable and which belong to the product. Test borderline cases separately, then review escapes and false rejects together. This keeps a sensitive inspection from becoming an unnecessary source of scrap or repeated manual checking.

Can the system find clear or same-colour plastic fragments?

Plastic contamination detection is harder when the fragment has little contrast against the product. Transparency, gloss, thickness, orientation and the background can all change what appears in the image. Embedded particle detection adds the difficulty of the surrounding material obscuring the target. Feasibility needs physical samples under the proposed lighting and camera views. If the required information is absent from those images, changing the model alone will not make the target reliably detectable.

Where should the inspection sit on the line?

Put it where the relevant area is accessible and a suspect unit can still be isolated. For visible contamination, that may be before a cover is fitted, a package is closed or the product moves into another operation. Consider whether overlapping parts, fixtures or product movement obscure the view. Also allow enough distance and time between capture and the configured response. The right location should reflect both where the risk appears and how the line will act on a finding.

How does inspection connect to rejection or sorting?

The inspection result must remain associated with the correct unit as it travels to the response point. Optical sorting and other separation arrangements need suitable presentation, tracking and timing. Agree whether the line should reject the unit, hold it for review or take another defined action. Check the complete sequence at the intended production rate, including closely spaced parts and changeovers. A correct image classification is useful only when the right unit receives the right response.

Does a clean-looking image prove the product is contamination-free?

No. Surface contamination inspection establishes a result for the visible features and conditions included in validation. It does not determine chemical composition, detect every microscopic or biological hazard, or prove that concealed areas are clear. Keep that scope explicit in your quality process. For a trial, provide representative samples, a defect acceptance standard, the required views and the response you need on the line. Those inputs establish what this visual checkpoint can contribute.

CONNECT WITH OUR EXPERTS

Show Us What Shouldn't Be There

Share the contaminant, the product surface and the point where your team needs a decision. We will assess visibility, coverage and the response needed to isolate an affected unit.

Discuss Your Contamination Inspection
Close video