










GAP & FLUSH MEASUREMENT

Gap and Flush Measurement
to Catch Fit-and-Finish Faults Early

KOMPASS brings gap and flush measurement to every defined point on doors, panels, lids and housings. 3D profiles capture both the opening between parts and their height offset, and each value is checked against your limits before the assembly moves to paint, final fit or dispatch.

Discuss Your Fit Check

Trusted by manufacturers to improve quality on the line

THE PROBLEM

Customers See the Gap Before They See Anything Else

Gap and flush are judged in seconds by anyone who looks at a door, hood, appliance front or device housing. Yet many lines still measure them by hand, at a few points, on a few units.

Hand Gauges Depend on the Hand

Readings change with the gauge angle, the pressure applied and the exact point chosen. Two inspectors rarely record the same value.

Few Points, Few Units

Manual checks cover a sample of points on a sample of builds. A misfit at an unmeasured corner travels on.

Late Discovery Means Rework

A panel that sits proud is cheaper to adjust in the body shop than after paint, trim or final assembly.
The Solution

Measure Fit at Every Point, on Every Build

Our AI Product Inspection system, KOMPASS™, uses 3D vision hardware and trained models for gap and flush measurement at each defined point. Results reach the line controls and are stored with the profile behind every value.

Capture Gap and Flush in One Scan

  • Project a laser line across the joint to capture both edges in 3D
  • Measure the opening width and the height offset from the same scan
  • Handle rounded edges, seals and trim strips trained from your builds
  • Apply limits for each point on each model
Both values
Gap and flush from one scan
Every point
On every build
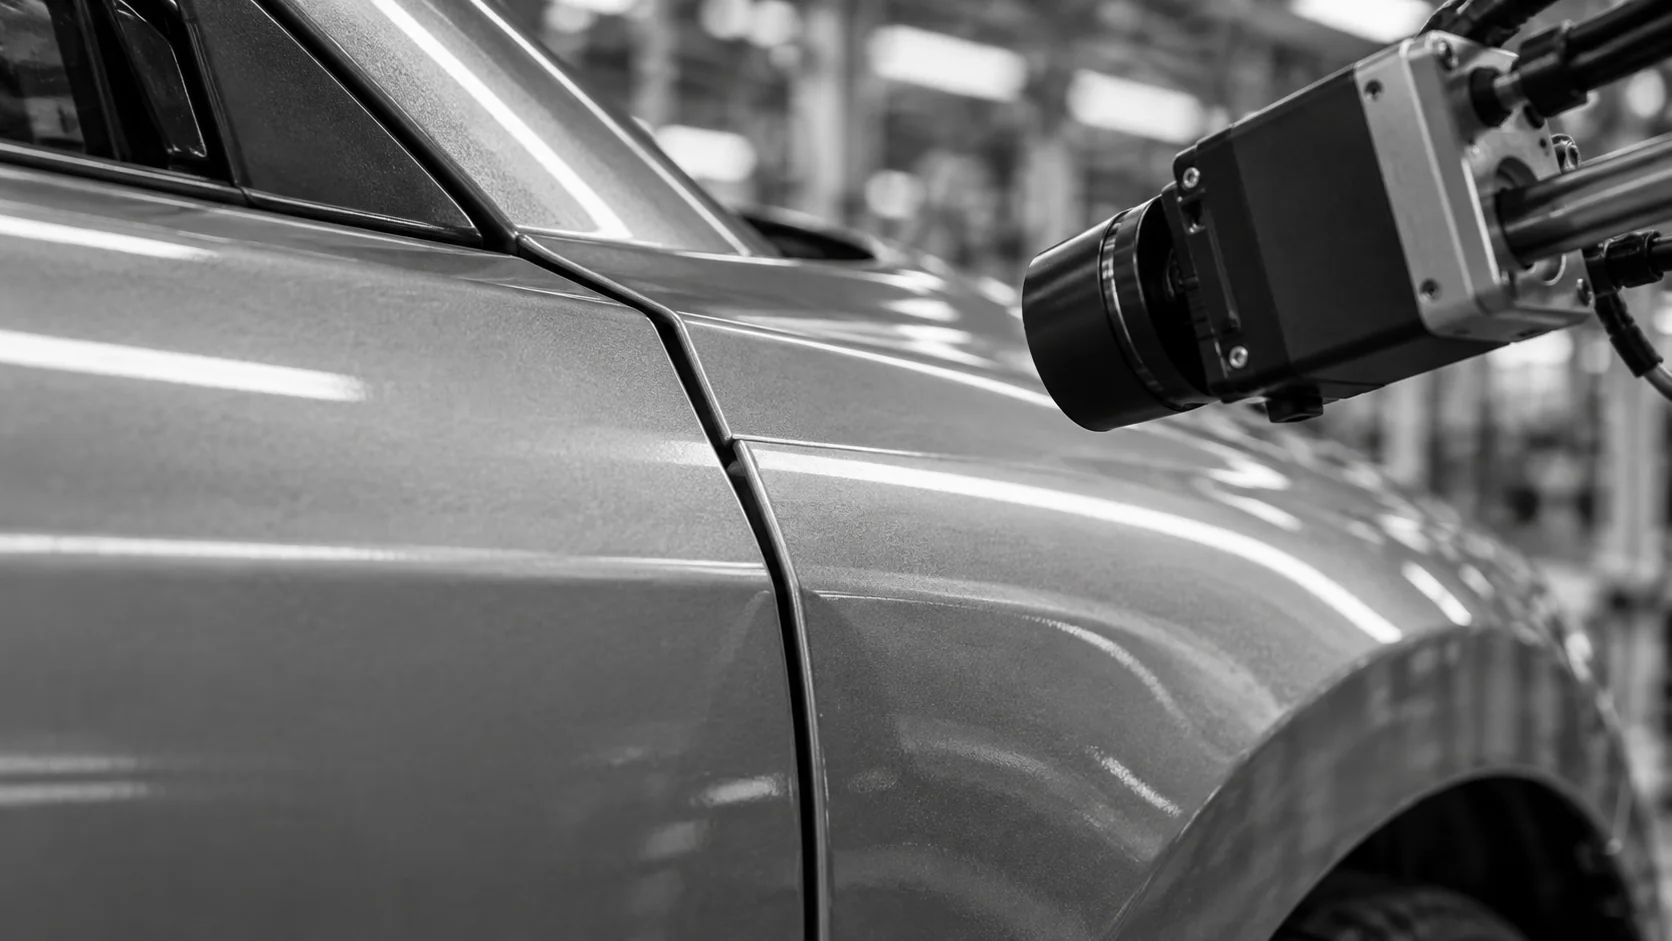
Conceptual illustration of an optical head facing a gap between adjacent vehicle panels.

Feed the Result Back While Adjustment Is Cheap

  • Flag out-of-limit points before the assembly moves to paint or final fit
  • Show which point and which panel failed, not just a pass or fail
  • Trend each point to reveal fixture or hinge drift across shifts
  • Store every profile for audit and root-cause review
Per point
Clear direction for adjustment
Shift trend
Fixture drift made visible
HOW IT WORKS

From 3D Profile to Fit Decision

Flush is a height difference, so gap and flush measurement needs depth data. KOMPASS combines 3D capture at defined points, models trained on your joints and a direct link to the line response.

Highlight #1

Define the Points

Each joint on each model gets fixed points and limits from your fit specification. Fixed cameras or a robot-mounted sensor reach them repeatably.

Highlight #2

Scan the Joint and Measure

A laser profile crosses the joint. The model finds both edges and surfaces, then calculates gap width and flush offset at that point.

Highlight #3

Decide and Record

Out-of-limit points are flagged to the line with the failing location. Every profile is stored for trend review and audits.

Connect With Us

Send us your fit specification, the joints that matter and a few good and misfit samples. We will assess the 3D sensing and positions the check needs.

Get In Touch

Where Each Fit Check Belongs

Hand gauges, offline metrology and inline 3D vision answer different questions. The difference is how many points and builds get measured, and how fast the line hears about it.

Measurement need
Manual gauging
CMM & offline systems
KOMPASS AI
Coverage
A few points on sampled builds
Full detail on sampled builds
Every defined point on every build, within the validated cycle
Flushness
Hard to read consistently
Measured precisely, offline
Measured from the depth profile at each point
Feedback to the line
At the next manual audit
After the audit report
Point-level result while adjustment is cheap
First-Time-Right
Relies on catching misfits late
Confirms capability after production
Holds misfit assemblies before paint or final fit

Frequently Asked Questions

Why does flush need depth data?

Gap is a width that a 2D camera can see, but flush is a surface offset between two panels, which is a height difference. Measuring it needs a 3D profile across the joint. A laser profiler projects a line over the edge of both parts and captures their shape, so gap and flush come from the same scan at the same point. A 2D camera can still confirm gap width where flush is not specified, which keeps simpler joints simple.

Which products is this used on?

Gap and flush measurement is best known on car bodies, from body in white through final assembly, but the same check applies to appliance doors, enclosures, consumer device housings and machinery panels. Anywhere two visible parts meet and appearance or sealing matters, fit and finish can be measured instead of judged by eye. The station design changes with part size, but the measurement principle stays the same.

How are the points chosen?

Measurement points come from your fit specification: the joints customers see, the ones that affect sealing and the ones that drift most. Each point has its own nominal gap, flush value and limits. The station measures the same points on every build, so results can be compared across shifts and models. Points can be added later as quality priorities change. Every value is stored against its point, model and time, so trends are easy to read.

What about doors, hoods and other moving panels?

Closure panels such as doors, hoods, lids and tailgates are the most common targets because hinges, strikers and fixtures shift them. Point-level results show which hinge or fixture needs adjustment. Seals and trim strips near the joint are included in training so the station measures the panel edge, not the rubber beside it. That keeps a soft seal or trim strip from being mistaken for a misaligned panel.

Why move away from hand gauges?

A feeler gauge and straight edge give useful readings, but the result depends on angle, pressure and the exact point chosen, and values are recorded by hand. Automated gap and flush inspection measures the same points the same way every time, stores each value and covers every build instead of a sample. Because each reading is stored automatically, nobody has to transcribe values from a clipboard at the end of the shift.

Can poor fit cause more than a visual complaint?

Yes. Uneven gaps and proud panels can let water and dust past seals and create wind noise at speed on vehicles. On appliances and enclosures they can affect door sealing and ingress protection. That is why panel alignment is often treated as a functional check, with limits set by engineering as well as by appearance standards. Treating fit as functional also helps engineering agree tolerances that the line can actually hold.

Do handheld instruments still have a role?

Yes. Handheld instruments stay useful for audits, repair areas and checking new models before a station is taught. A gap and flush gauge also helps validate the inline system during commissioning, by comparing readings at the same points. Once validated, the inline station takes over routine coverage of every build. New models can be measured by hand first, then added to the inline station once their points are defined.

What should we send to plan the fit check?

Send the fit specification with each point and limit, the models or variants, the line cycle time and how the assembly is presented at the proposed station. Good builds and known misfits help us test sensing and positions. We then recommend fixed or robot-mounted sensors and the reject or rework flow for gap and flush measurement on your line. Builds from different shifts help show how much fixture drift the station must track.

CONNECT WITH OUR EXPERTS

Show Us the Joint Your Current Check Misses

Share your fit specification, the joints that matter, your variants and cycle time. We will map the points to measure and set out timing and cost. Most KOMPASS deployments complete in 6 to 8 weeks.

Discuss Your Fit Check
Close video