












RIVET PRESENCE & SET INSPECTION

Rivet Inspection
to Catch Missing and Badly Set Rivets Early

KOMPASS brings rivet inspection to every assembly leaving the joining station. AI vision counts the rivets, confirms each is in the right place and checks head seating, tilt and protrusion, so missing or badly set rivets are caught before the next operation.

Discuss Your Rivet Check

Trusted by manufacturers to improve quality on the line

THE PROBLEM

One Missing Rivet Breaks the Joint Design

Riveted joints are designed around a set number of rivets in set positions. Without rivet inspection on every part, a skipped, tilted or proud rivet is easy to miss among dozens of identical heads.

Counting by Eye Fails at Volume

An inspector scanning rows of identical rivet heads loses count. A single skipped rivet slips through.

Setting Faults Look Subtle

A head that stands slightly proud or sits at an angle looks almost right. Without measurement, it passes.

Destructive Checks Cover Samples

Cross-sectioning shows joint quality on a few parts per shift. Every other part relies on the process staying stable.
The Solution

Check Every Rivet, Not Just a Sample

Our AI Product Inspection system, KOMPASS™, performs rivet inspection with cameras and, where height matters, 3D sensing, using AI models trained on your assemblies to check presence, position and setting. Each assembly result is stored with its image for traceability.

Count and Locate Every Rivet

  • Count rivets against the expected layout for each part
  • Confirm each rivet sits in its designated hole
  • Flag missing, extra and misplaced rivets
  • Handle several part variants with their own layouts
Every rivet
Counted and located
Per variant
Right layout for each part
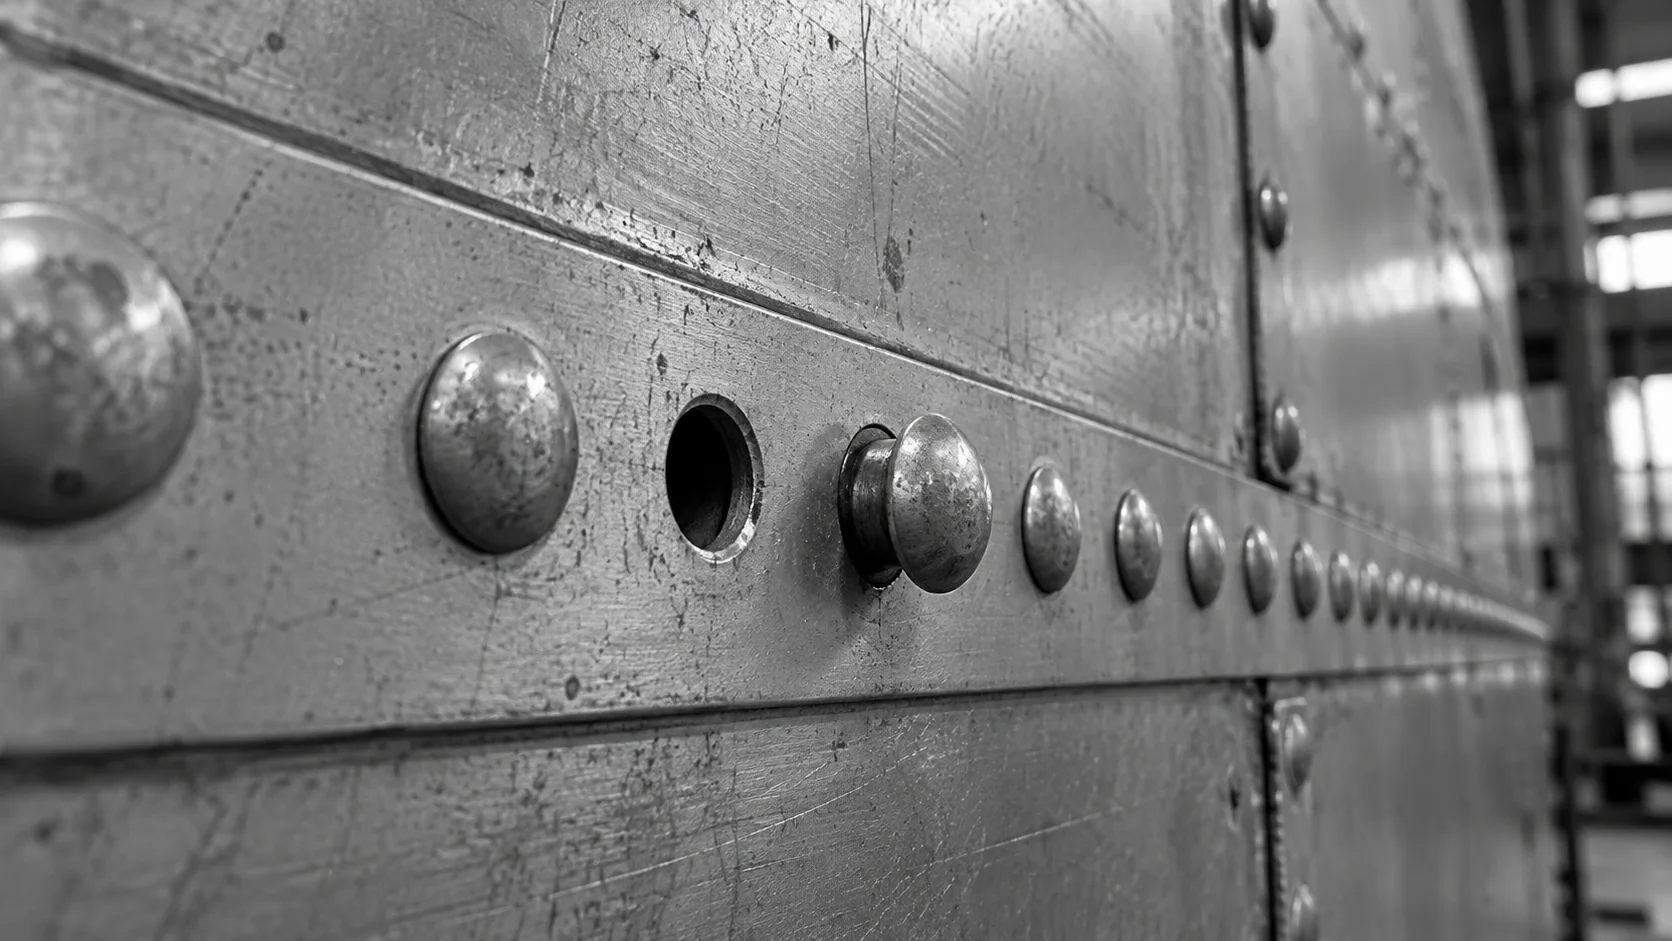
Conceptual illustration of a rivet row with an unoccupied hole and a protruding head.

Check How Each Rivet Was Set

  • Measure head protrusion and tilt with 3D sensing where needed
  • Detect cracked, deformed or damaged heads
  • Confirm countersunk heads sit flush
  • Store every result with its image for traceability
Seating checked
Not just presence
Image evidence
Every decision reviewable
HOW IT WORKS

From Riveted Assembly to Joint Decision

Rivet inspection combines counting, position and setting. KOMPASS brings them together with models trained on your assemblies and a direct link to the joining station.

Highlight #1

Capture the Riveted Area

Cameras capture each assembly after riveting. Where head height matters, a 3D sensor adds a profile of every head.

Highlight #2

Count, Locate and Judge Setting

The model counts rivets against the layout, checks each position and classifies head seating, tilt and damage.

Highlight #3

Hold, Trend and Record

Failing assemblies are held, trends point to the riveting tool and every result is stored with its image.

Connect With Us

Send us riveted assemblies with correct and faulty rivets, your layouts and acceptance criteria. We will assess the view and sensing your rivet inspection needs.

Get In Touch

Where Inline Rivet Checks Fit

Visual checks, destructive sampling and inline rivet inspection each have a role. The difference is whether every rivet on every part is checked.

Inspection need
Manual visual checks
NDT & destructive sampling
KOMPASS AI
Missing rivets
Missed when counting by eye
Found on samples
Counted on every part
Head seating and tilt
Judged roughly
Measured on sections
Measured where 3D sensing is fitted
Internal joint quality
Not visible
Confirmed by sectioning
Not visible, sectioning keeps this role
First-Time-Right
Depends on careful counting
Confirms after the fact
Holds faulty assemblies at the station

Frequently Asked Questions

What does an automated rivet check confirm?

Rivet inspection with KOMPASS confirms that every rivet is present, sits in its designated hole and has been set correctly. That covers rivet count against the layout, position, head seating, tilt, protrusion and visible damage such as cracked heads. Each rivet is checked individually, so the result shows exactly which one failed and why, instead of a single pass or fail for the part. Results are stored with images, which gives quality teams a record for every assembly.

Which rivet types can it check?

Solid rivets, blind rivets, self-pierce rivets, rivet nuts and clinch fasteners are common applications. Each looks different from the inspected side: self-piercing types leave a smooth head on top and a button below, while blind types show a set mandrel. Training covers the types and materials you use, and each side is inspected where your standard requires it. Mixed fastener types on one part are checked together when they share the same view.

How is head height measured?

Head protrusion and tilt are measured with 3D sensing, such as a laser profile or structured light projected onto the head. The sensor captures how far the head stands above the surface and at what angle. A flat camera image alone cannot measure height reliably, so 3D sensing is added where seating limits matter. Where only presence matters, a standard camera is enough and no 3D sensor is needed.

Can it check heads sit flush?

Yes. Countersunk rivets should sit flush or within a small limit of the surface, especially on aerodynamic or visible panels. Flush seating is measured from the 3D profile of the head relative to the surrounding panel. Heads that sit proud or below the surface are flagged with the measured value for review. Limits for flushness come from your drawing and are applied per rivet position.

What causes rivets to be missed or badly set?

Most rivet defects trace back to the tool or the feed. Feed faults, empty magazines and skipped positions cause missing rivets, while worn dies, wrong setting force or poor sheet stack-up cause tilted heads and poor seating. Material changes and coatings can affect setting too. Trends by tool and station show which cause you are dealing with, which helps maintenance act before the fault spreads. Acting on the trend keeps one worn die from affecting a whole shift of parts.

Does it replace cross-sectioning or eddy current testing?

No. Cross-sectioning shows internal joint geometry, such as interlock and remaining material thickness under the rivet, and eddy current testing finds cracks around fastener holes, neither of which a camera can see. Inline rivet inspection complements both by checking every rivet on every part for presence, position and visible setting, while those methods keep confirming internal quality on samples. Together they give full coverage and confirmed internal quality.

Where should the camera go?

At or just after the joining station is usually best, so a missing or badly set rivet can be fixed before the next operation covers it. Where rivets are set by a robot, the inspection can also confirm the robot completed every position in its programme. The underside may need its own view for self-pierce rivet buttons. Placing the check close to the tool also keeps the cause easy to trace.

What should we send to plan rivet checks?

Send riveted assemblies with correct and faulty rivets, layouts showing every rivet position, your acceptance criteria and the variants you run. Add the cycle time and where held parts should go. With that, we can recommend cameras, any 3D sensing and integration for missing rivet detection and setting checks on your line. Faulty examples from worn dies are especially useful for training.

CONNECT WITH OUR EXPERTS

Show Us the Rivet Fault You Want to Catch

Share riveted assemblies, layouts, acceptance criteria and cycle time. We will plan rivet inspection at your joining station and outline timing and cost. KOMPASS deployments usually take 6 to 8 weeks.

Discuss Your Rivet Check
Close video